I built my first mechanical keyboard, a MiniDox.

Motivation
- It was easy? nope.
- I already had experience doing something similar? nope.
- I had even held a solder for one second before? nope.
- I knew somthing about keyboards before (besides using one, of course)? nope.
So… why? Well, to be completely honest, for fun mainly. I got my first comments about something called “mechanical keyboard” thanks to geekymartian, he built an ErgoDox and then others (two MiniDoxs and counting).
Then I started to read about it, about the tools involved, about an endless world of possibilities regarding key mappings and functions, about typing in a real more comfortable way.
Another reason could be my “Emacs pinky”, now I have Ctrl and Alt right under my thumb.
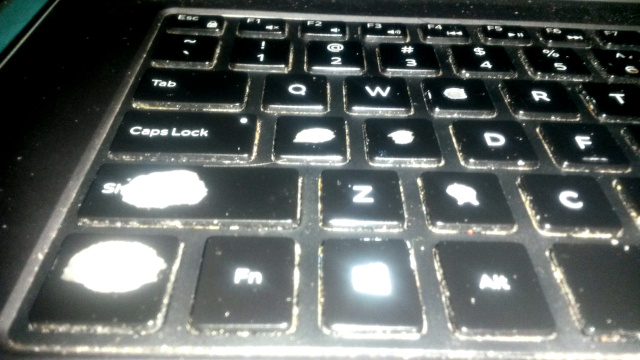
Figure 1: Here is a picture of my laptop’s keyboard which I think is self-explanatory about emacs-pinkyness
It was after started building it when I realized the power behind being able to program your own keyboard.
Gathering things togheter
For building this keyboard I need two sets of things: tools and pieces. I had nothing, so after several thoughtful advices from geekymartian, I went shopping:
Tools
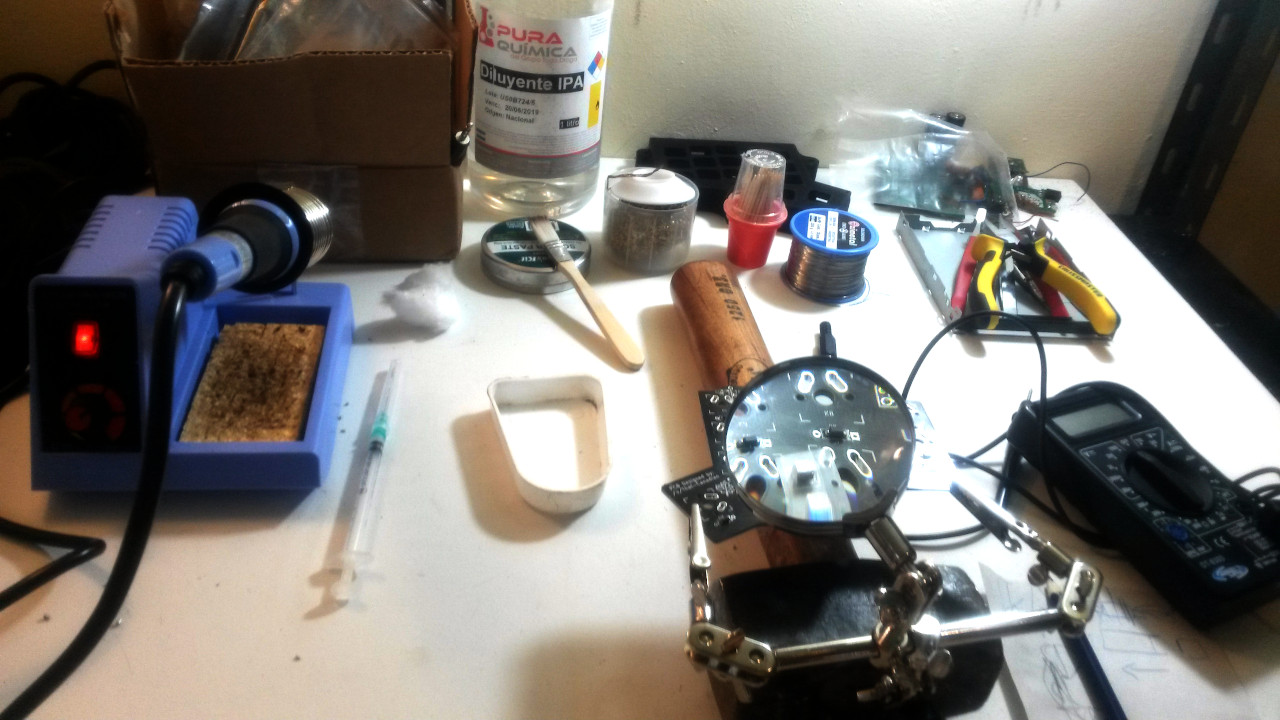
Figure 2: My “lab”
- Soldering station with adjustable temperature ~40W
- Rosin core solder 0.5mm
- Soldering paste: for soldering smd diodes
- Syringe with needle: for putting soldering paste right on the required place.
- Desoldering wick: life saver
- Magnifying glass with tweezers
- Anti-static tweezers kit for electronics
- Toothpicks: for holding smd diodes before solder its first contact
- Isopropyl alcohol: for cleaning pcb
- Multimeter with diode test capabilities: You’ll want to measure every soldered diode just after soldering it.
Pieces
I bought PCB and electronic components from Profet, but this is the list of required components:
- PCB or hand-wire
- 2 ProMicros: atmega32u4
- 2 Switches for reset
- 2 TRRS ports
- 36 diodes: it could be smd (SOD 123) or through-hole (1N4148)
- 36 key switches: I used Gateron Brown
- 36 key caps: In my case, Cherry compatible
- Mount plate and case: I printed this model (but, warning! see below)
- TRRS male-to-male cable
Getting your hands dirty
I was able to build a MiniDox thanks to this great and detailed building guide. Besides all the comments present in that guide, I could add the following tips:
For a newbie like me: You need to moisten your soldering sponge for cleaning your solder tip. Otherwise, it will be burned by the tip.
For soldering diodes: This video and this another one are great. I personally found that holding smd diodes with toohpicks was much easier than using tweezers.
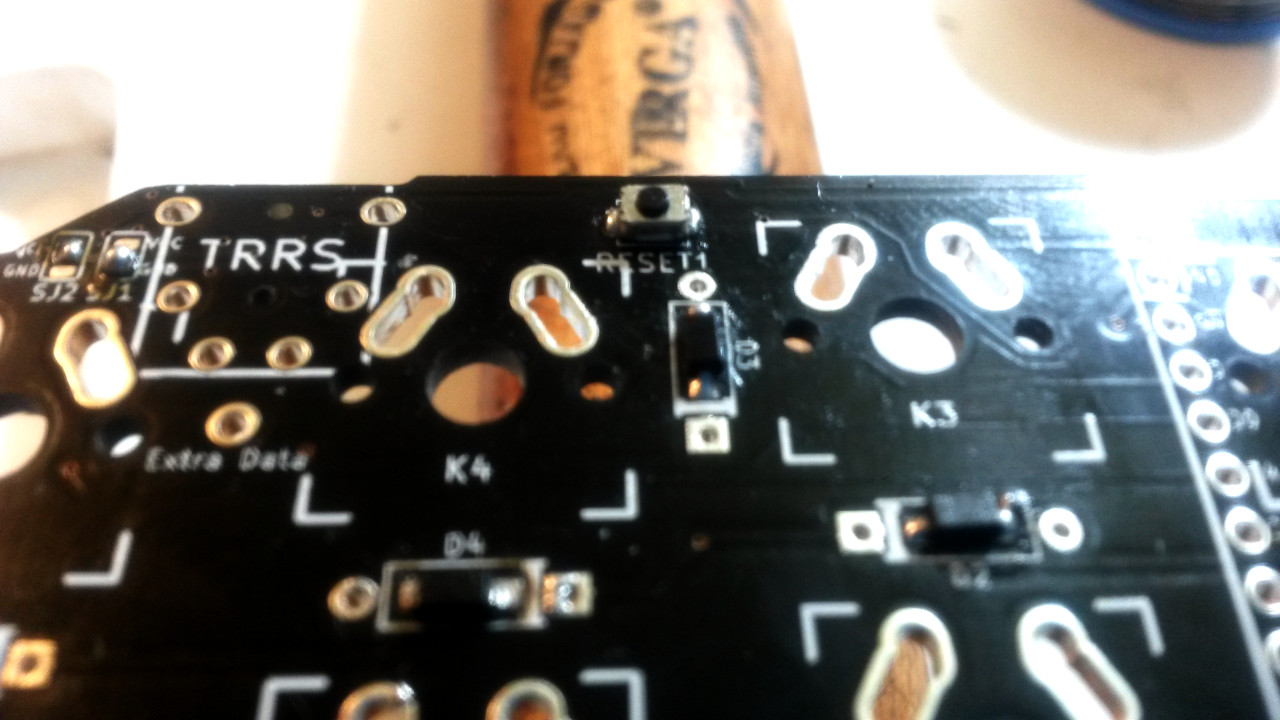
Figure 3: Mouting reset button
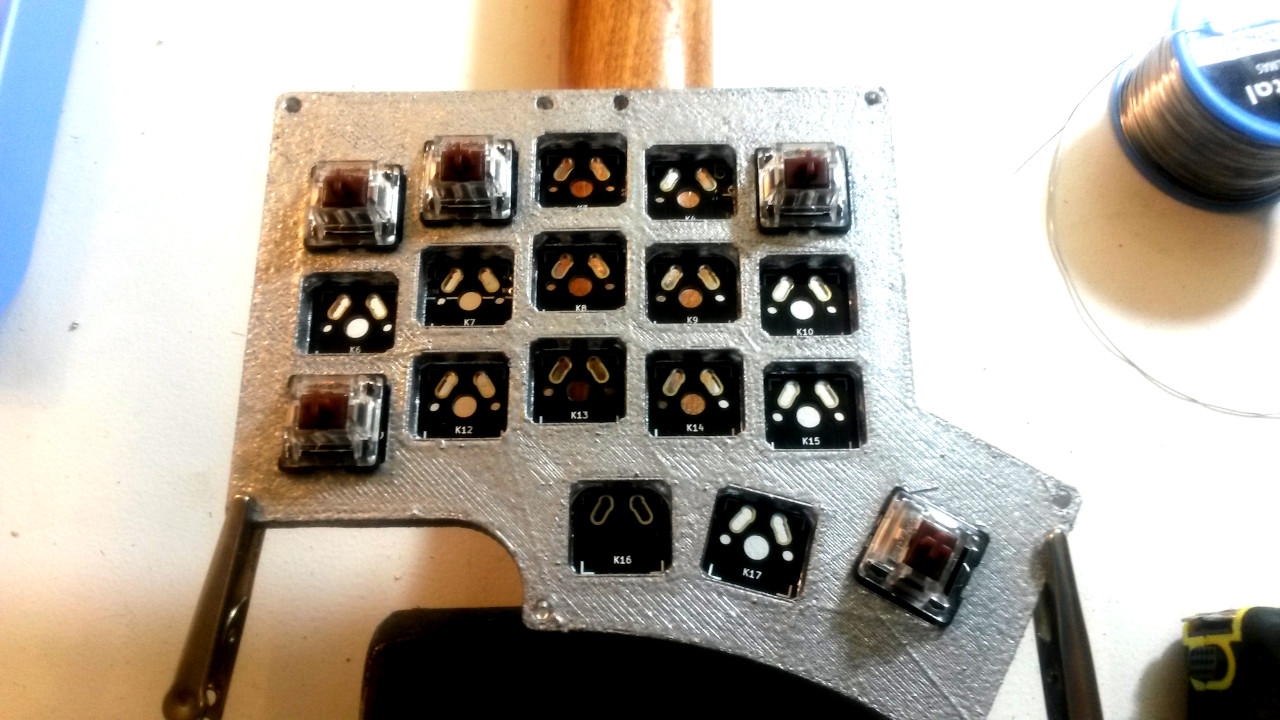
Figure 4: Soldering first key switches
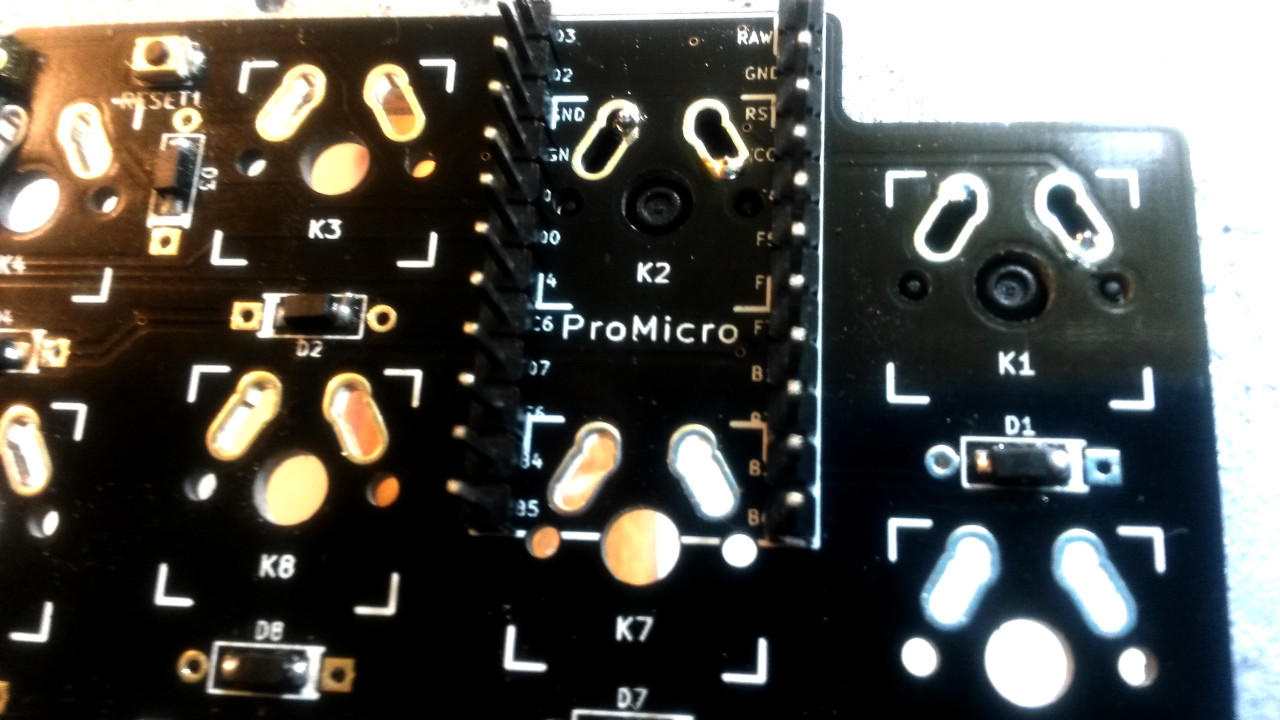
Figure 5: ProMicro mount
Oops
Not everything is soldering and roses, after putting my keyboard together I had the following issues:
Some keys from right hand started to malfunction. When I pressed a key from second row, all that row was sended as input. It happens that my plate (the one on which keyswitches are laid) is too thick and this causes some PCB bending, which produces this kind of malfunctioning. I fixed this by putting some supports (cardboard) between plate and pcb for avoiding bending.
First column on right made weird things too, sometimes no keystroke was registered. I took me a while to discover this but, finally, I detected (by using a multimeter) that part of the column keystrokes weren’t reaching ProMicro’s pin. So, a bridge fixed this problem.
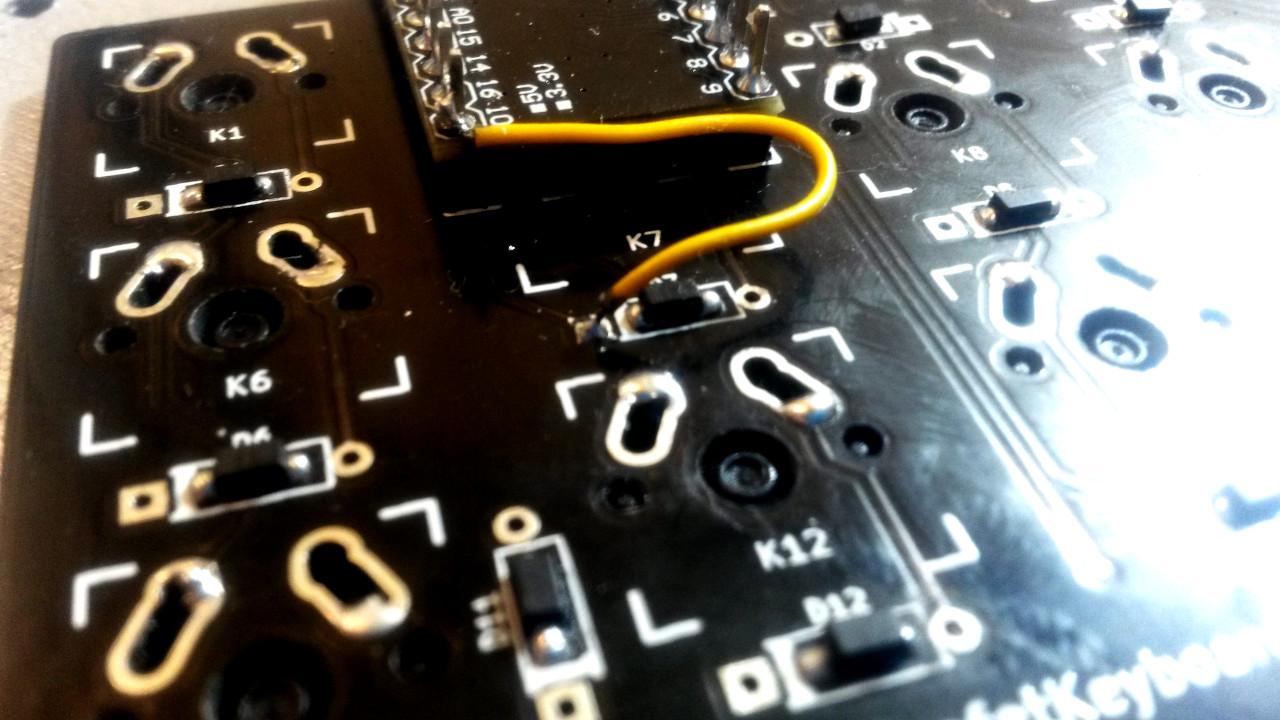
Figure 6: Brige to pin
- An intermittently dead key. This was caused by a bad swich, just replacing it fixed the problem (note here, buy a couple more key switches just in case).
Firmware
After finishing both sides, you have to install firmware. There are a couple of options around, I only used qmk, it comes with a docker environment which works perfectly (yes, you have to run it in privileged mode):
KEYBOARD=minidox
KEYMAP=example

docker run -ti --privileged \\
       -v /dev:/dev \\
       -v "$PWD":/qmk\_firmware \\
       qmk-build make "$KEYBOARD":"$KEYMAP":avrdude
With qmk there are a lot of posibilities and tweaks available for every key on your keyboard. This is my current keymap for reference, but I think that this is a really personal thing. For example, I wanted to have ctrl in my thumb mainly because I’m a Emacs user, I doubt that a vimmer would have the same requirement.
Using it
It took me a couple of months to being able to write decently with this keyboard, it was my first time with a split keyboard. My fingers had to discover where were the keys, but now is my daily driver, is one of my main tools for working every day.
Once you get your hands in the keyboard, there no way back, I feel “at home” now with my MiniDox. I’m even planning to hand-wire me a little variation of it. It is really incredible how efficient could this 36 keys be, I’m really grateful to That-Canadian for this excellent design, is a magnificent work which improved greatly my relationship with computers.